Showing posts with label Greeting Card crafts. Show all posts

Wednesday, December 6, 2017

More Fun with Greeting Cards--A Folded Angel


More Fun with Greeting Cards 


 If you follow the Stitches Thru Time blog, you probably know by now that I love to do creative stuff with old greeting cards. Today I’m going to show you how to make a


Folded Christmas Card Angel


Supplies

1 large greeting card
1 small Styrofoam ball
1 white chenille pipe cleaner
Scissors
Bone folding tool (to make sharp creases)
Compass or other tool to make a circle
glue or staples
Awl or ice pick (to make hole in Styrofoam ball)

Directions:

Using a large greeting card, draw a circle on the white side of the card with a compass. Cutout the circle and mark dissecting lines across diameter of the circle to use as folding marks. Cut along one of the lines to the center of the circle. Using a folding tool to make the folds sharp, fold along the lines you’ve cut until the circle is folded as shown below. This is the angel’s skirt (or body).

Staple or glue the circle back together, leaving an opening in the middle to insert the pipe cleaner into. I used rubber cement.

 
Front side of the angel’s body with wings


From another section of the card, cut two hearts in proportion to the angel’s skirt. These will be the wings.


Back side of the angel’s body with colored wings.

 
Make a slit in each side of the angel’s skirt to hold the wings at the spot where you want them to rest, and another slit in the wings to insure they stay attached to the skirt.

 
For the angel’s head, insert an awl or ice pick through the top and bottom of a small Styrofoam ball. You will put the pipe cleaner in this opening, so be sure the hole is big enough to fit the wire.

Insert one end of the pipe cleaner through the Styrofoam ball, leaving enough on the top to form a circle for the halo as shown below.  Fold the remaining half of the pipe cleaner up and twist the end of the pipe cleaner into the angel’s arm as shown below.


Insert the pipe cleaner into the opening of the skirt.


 If your card has lettering on it, such as peace, or joy cut the word out and place it in the angel’s bent arms as shown in the first picture.

Or, if you’d like, cut a small piece of plain cardboard from the greeting card, write a guest’s name on it, and place in the angel’s arms to use as a table name place.


A darling name holder for your Christmas table 

I hope you’ve enjoyed this crafty idea. Do you have any ways you reuse your old greeting cards?

Don't forget to leave a comment to be entered in this week's giveaway, Handmade Dish Clothes by Gail Kittleson.


About the Author:


 Catherine Castle is the author of the multi-award-winning inspirational suspense romance, The Nun and the Narc, and the sweet romantic comedy, A Groom for Mama. Catherine loves writing, reading, traveling, singing, watching movies, and the theatre. In the winter she quilts and has a lot of UFOs (unfinished objects) in her sewing case. In the summer her favorite place is in her garden. She’s a passionate gardener who won a “Best Hillside Garden” award from the local gardening club. 

Her debut inspiration romantic suspense, The Nun and the Narc, from Soul Mate Publishing was an ACFW Genesis Finalist, a 2014 EPIC finalist, and the winner of the 2014 Beverly Hills Book Award and the 2014 RONE Award.  A Groom for Mama is a sweet romantic comedy from Soul Mate Publishing.  Her newest release is an inspirational contemporary romance, Bidding on the Bouquet, from Forget Me Not Romances. All three books are available on Amazon.


Wednesday, November 30, 2016

Greeting Card Turkey Table Decoration/Name Place card


Thanksgiving has just past, and although I didn’t cook or host this year, I came up with the cutest idea for a turkey table decoration/place card. I love the holidays, and I love to set a pretty table filled with special touches. I guess I’m a Martha Stewart wanna be at heart.

I also love to make things from greeting cards I’ve saved. So, I came up with this darling turkey to grace the Thanksgiving table. You can use several as centerpieces, set in a length of silk leaves, or add an extra feather to the turkey’s fan and make a place card holder. Either way, it’s an easy craft to enjoy with the kiddos, or by yourself, that will make your Thanksgiving table a little special.

Materials:

·       Greeting cards with a buy print on them on one side, and a solid color on the back. Or, two sets of greeting cards: one with a busy print and the other with a mostly solid color.

·       A small pear. I used a red Anjou pear because it fit inside the bowl I wanted to use as a base, but you could use a brown Barlett pear as well. Your feathers might have to be cut larger than the directions, though, if you use a larger pear.

·       Flat-sided toothpicks

·       Scissors

·       Glue (I like rubber cement, but the paper crafters glue tape would work too or hot glue)

·       Small bowl to use for the base to hold the turkey. If you don’t have a bowl, you can also cut a slice from the bottom of the pear so it will sit on a plate.


1.     Select a greeting card with a busy pattern on one side and a color on the back side (if possible). If you don’t have a card with a colored back side, use a card with a mostly solid color for the back side, placing the two greeting cards insides together.


2.     Mark the front of the greeting card into 1-inch wide strips and then mark each strip in half. Keeping the whole card together (If you are using both sides of the same card) cut the strips out. If you are using two fronts, then stack them printed sides out and cut into strips. Holding each set of strips together, cut out a feather shape from the bottom of the strip, then cut a second set of feathers from the top of the strip. Keep a firm grip on the cards as it’s important to make sure the paper doesn’t slide, so when you glue the feather halves together they will match evenly on the edges. Set the feathers aside, keeping each set together.


3.     Holding each set of feathers together, cut a shallow curve in the flat end of the feather.  This will allow the feather to seat nicely on the curve of the pear.


4.     Break a toothpick in half. Glue ½ of a the toothpick between the plain sides of each feather set, leaving ½ of the sharp end of the toothpick exposed. Match the edges of the paper and press the edges of the feather together tightly.  Set the feathers aside until they are dry.


5.     From another card with a solid printed side, preferably a tan or light brown. If you don’t have the right color, you can use a white greeting card and color in the head A quick internet search will net you a turkey head graphic that you can easily copy. The easiest way to cut the head out is to fold the card and place the top of the turkey’s head on the fold of the paper. Draw on your head, and then cut it out. When you cut the head, keep it connected at the top for easier gluing. Color in the gobbler’s neck and beak and give him an eye. Don’t forget to color both sides of the head. Glue sides together, with a whole toothpick sandwiched between the sides. Set aside to dry.


6.      When the feathers and head are dried, stick the exposed toothpick into the pear, arranging feathers on the pear in a fan shape, using as many feathers as you wish.


7.     Cut off the stem of the pear and insert the turkey head into the small end of the pear.


8.     To make the turkey into a place card, cut two feathers from a solid colored or white section of a greeting card. Write your guest’s name on the feather and glue together using a whole toothpick as instructed above.  Insert the feather in the center of the turkey’s fan. Set the turkey on a plate and watch your guests ooh and ahh.


What do you do with your old greeting cards? I’m always looking for new ideas.


Catherine Castle has been writing all her life. Before beginning her career as a romance writer she worked part-time as a freelance writer. She has over 600 articles and photographs to her credit, under her real name, in the Christian and secular market. Besides writing, Catherine loves traveling with her husband, singing, and attending theatre. In the winter she loves to quilt and has a lot of UFOs (unfinished objects) in her sewing case. In the summer her favorite place to be is in her garden. She’s passionate about gardening and even won a “Best Hillside Garden” award from the local gardening club.


Her debut inspiration romantic suspense, The Nun and the Narc, from Soul Mate Publishing was an ACFW Genesis Finalist, a 2014 EPIC finalist, and the winner of the 2014 Beverly Hills Book Award and the 2014 RONE Award.

Wednesday, November 9, 2016

Greeting Card Crafts--A Christmas Angel Ornament


Photos and original craft created  by Catherine Castle


Hi, everyone! It’s me, Catherine Castle, back with another greeting card craft. Today I'm going to show you how to make my angel ornaments with some of last year’s Christmas greeting cards, which I’m sure you saved, right? If not, shame on you, because these holiday greetings make wonderful crafts of all sorts. I'm always on the hunt for something new to do with this items. I dreamed these cuties up just for this Stitches Thru Time post when I couldn't find anything like it on the web.

Here’s what you’ll need to get this project started.

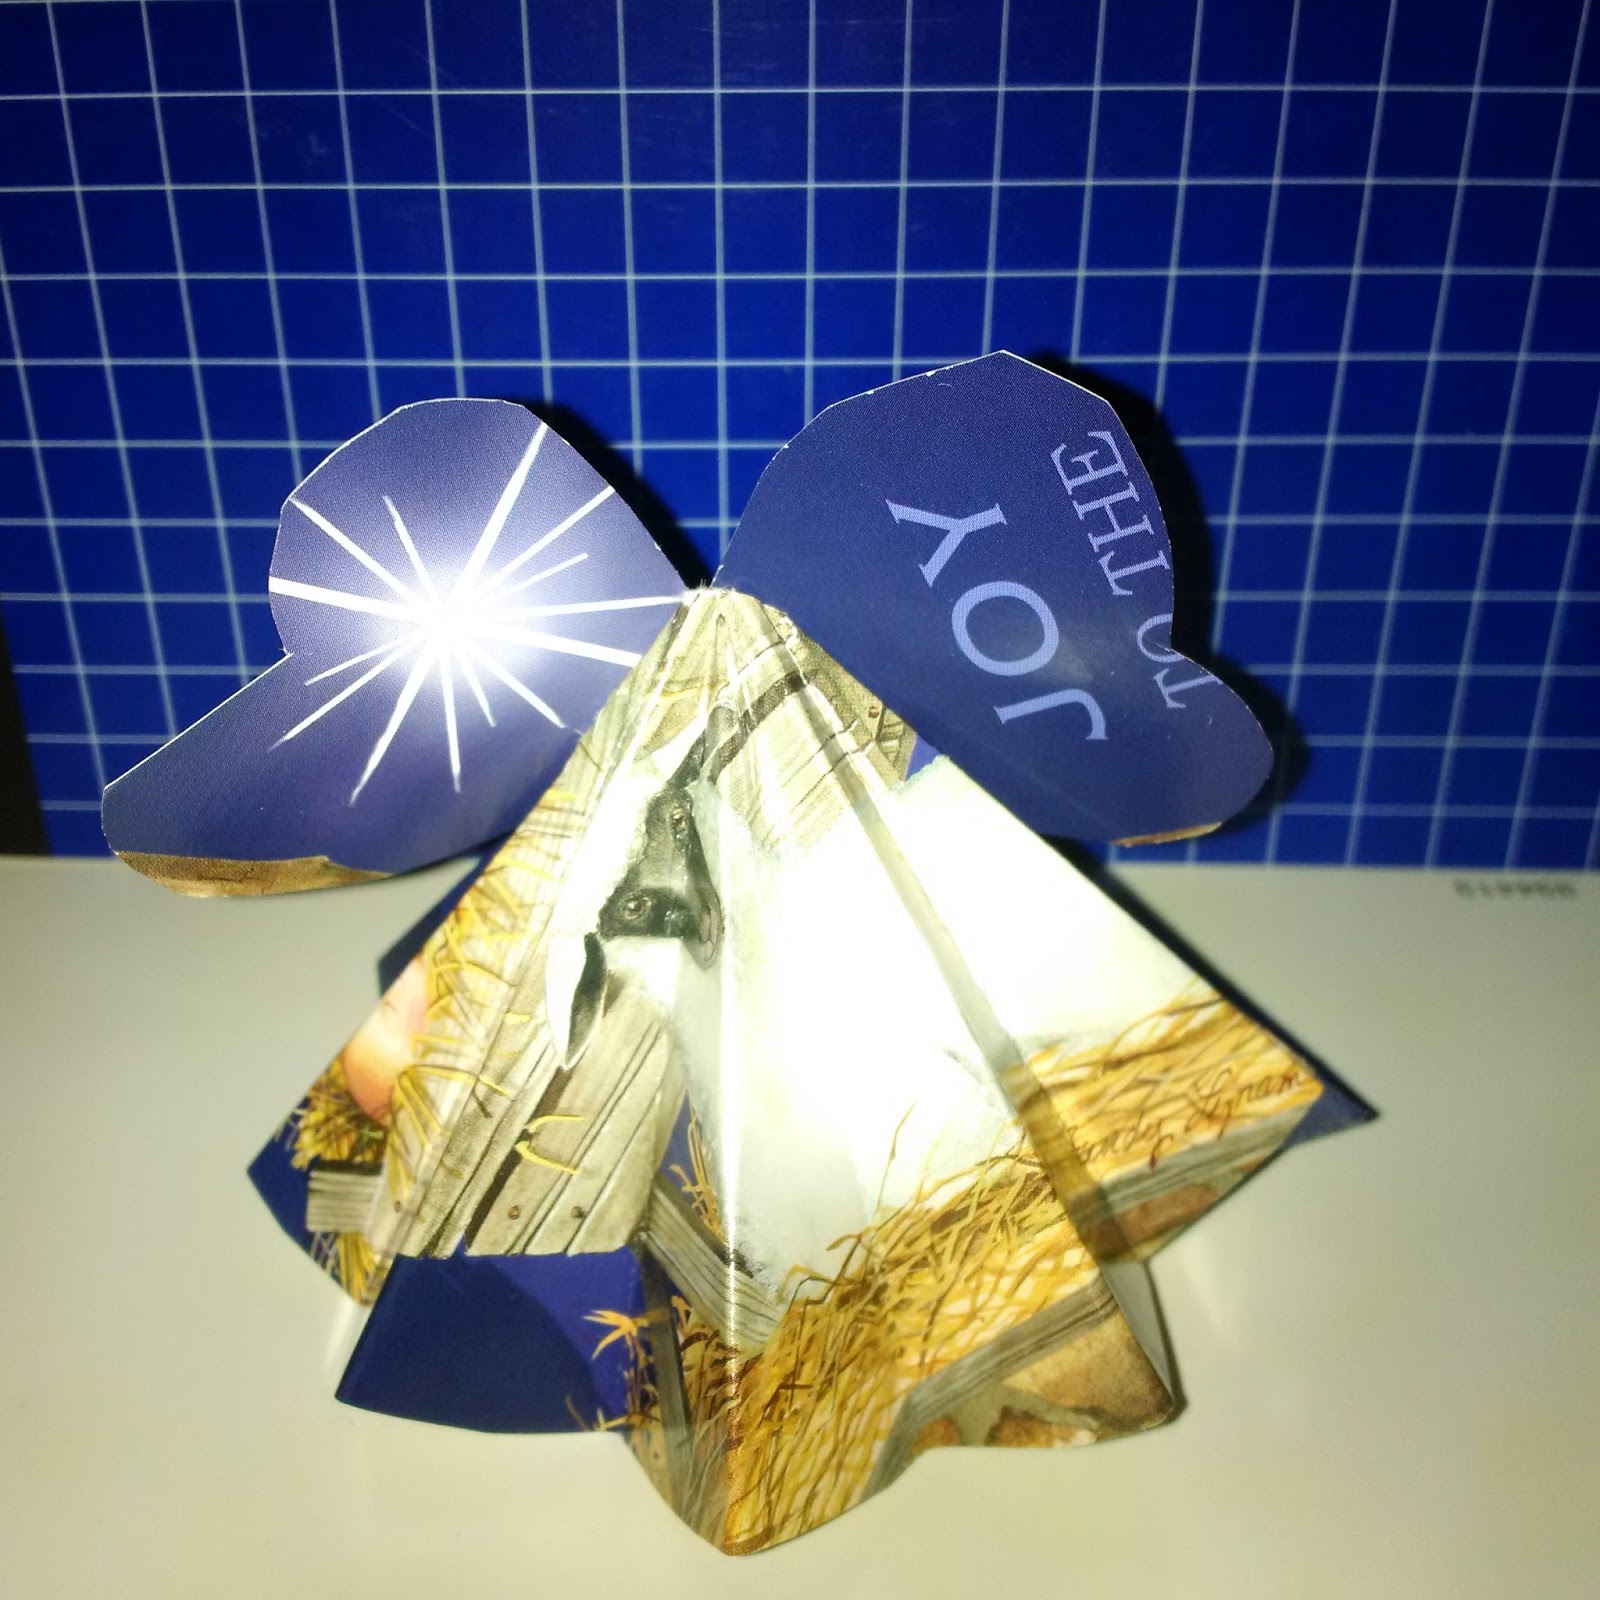
·       Greeting cards. You can choose a selection of a similar color, like this cute little angel above, or mix and match with contrasting colors. There’s no right or wrong here. Just have fun with it. Don’t worry about the picture on the card, either, because once they’re cut up, it won’t matter.

·       One  20mm (0.9 inch) Styrofoam ball for each angel’s head

·       A longish,  sturdy needle with a large eye

·       An awl and a piece of scrap wood

·       12 inches of 3.2mm x 9.14 mm satin ribbon, per angel you plan to make

·       Rubber cement or hot glue

·       Scissors

 
Directions:

1.     From the back of a greeting card, cut a 4 ¼” W x 2 ¾” H rectangle. Fold rectangle in half on the 4 ½ side and cut on the diagonal to create a triangle.

2.     Using the cardboard triangle as a template, cut three triangles from the cards of your choice.  If you wish to make a contrasting dress on your angel, then cut the triangles from different greeting cards of contrasting color. Most half sheet greeting cards should give you three triangles without any problem.


3.     Lay the 3 triangles in a stack to be sure they are the same size. If not, trim until they match. 

4.     Fold each triangle in half  to form a right triangle, matching the bottom and top points.

5.     Unfold the triangles, and stack them again. Use the awl to bore a hole through the apex of the triangle directly on the fold line. Don’t bore the hole too close to the top, because this is the hole that will be used to attach the angel’s head to her dress. You don’t want it to break through the edge of the cards when you thread the hanger ribbon.  Enlarge the holes a bit until you can get the needle, threaded with the ribbon, through the holes.


6.     Using the template, cut another triangle from the back side of the greeting card, or the inside, for the wings. Fold the triangle in half as with the dress triangles. On one of the angels below, I cut the verse section out and used it for the wings. On the other angel pictured below I used a contrasting color for the wings.


7.     Place the wings triangle in the opposite direction of the dress triangles.


8.     Then lower the wings a bit, and cut of the bottom of the triangle to match the bottom of the dress. The tip of the dress should be above the top edge of the wings.

9.     Using the rubber cement, hot glue (or stick glue if you’re working with your children, glue the back sides of the 3 triangles together, forming the angel’s dress.

10.  Glue the wings on the back side of the dress triangles, matching the bottom edges.

11.  Let the glue dry.

12.  Using one half of the ribbon only, stitch through the front of the dress where you made the holes earlier, going through all three triangles. Pull the ribbon up so the ends are even.

13.  With the awl, poke a hole all the way through the Styrofoam ball, making sure it’s large enough for the needle and two strands of ribbon to fit through.

14.  Thread one half of the ribbon through the opening in the head, then the other half.

15.  Put a drop of rubber cement or hot glue at the apex of the dress, then press the bottom opening of the head onto the tip of the dress triangles. Let dry.

16.  Tie a knot in the top of the ribbon.

17.  Hang your angel on the tree and enjoy
 

This angel also makes a darling bow for a special Christmas gift. The recipient gets a prettily wrapped gift and a keepsake ornament.

If you want to get extra fancy, you can make an angel with a fuller skirt and a seed bead necklace like the two shown above in the instructions. Instead of cutting 3 triangles for the dress, cut 5 triangles. Bore the hole in the apex of the triangle, as well as through the triangles at the top edge of the dress by the wings. Be sure to keep the holes away from the edges of the dress or they will tear when you thread the beads on. Fold the triangles, as with the other angel, but instead of gluing, stack all 5 dress triangles and the wings triangle (as shown above) , and staple the triangles and the wings in the center of the fold.  Working with one half of the ribbon, thread seed beads between the triangles, using an 18-inch section of ribbon. Pull the ribbon even, then thread the remainder of the ribbon through the head, as directed above. Glue the head to the apex of the triangles and tie off to create the ornament hanger.

I made my angels simple, but you can go crazy if you like, adding a wire halo, hair, eyes, or scallop their wings using paper scrapbooking corner cutters. Use any decorations you deem necessary. The sky’s the limit!

Don't forget to leave a comment to get your name in the drawing for  Sapphire Secrets by Dawn Cahill! Winner announced in the Weekly Windup on November 21st. Check out all of our great prizes on the Prizes Galore page.


Catherine Castle has been writing all her life. Before beginning her career as a romance writer she worked part-time as a freelance writer. She has over 600 articles and photographs to her credit, under her real name, in the Christian and secular market. Besides writing, Catherine loves traveling with her husband, singing, and attending theatre. In the winter she loves to quilt and has a lot of UFOs (unfinished objects) in her sewing case. In the summer her favorite place to be is in her garden. She’s passionate about gardening and even won a “Best Hillside Garden” award from the local gardening club.

 
Her debut inspiration romantic suspense, The Nun and the Narc, from Soul Mate Publishing was an ACFW Genesis Finalist, a 2014 EPIC finalist, and the winner of the 2014 Beverly Hills Book Award and the 2014 RONE Award.
Connect with her at her blog Facebook, or Twitter


Wednesday, January 6, 2016

More Greeting Card Crafts from Catherine Castle


More Greeting Card Crafts from Catherine Castle


The Christmas rush is over, all but the putting away: Trees, ornaments, wreaths, lights. There’s a lot to do. Why not take a few minutes and do something creative as the New Year starts?


By now you have a new stack of Christmas cards. I know I do! J

If you’re like me, you keep them. It might be the artist in me, or maybe just the collector that causes me to keep old greeting cards. Whatever fuels my fetish, I’m always looking for new ideas to recycle greeting cards.


Today I’m showing you a super easy recycled craft you (and the kiddies) can do in just a few minutes. All you need are:

  • Old greeting cards
  • Pen or pencil
  • A round glass (for a circular coaster) or a cardboard template for a square coaster. (I used an old square paper coaster for my pattern)
  • Scissors
  • Rubber cement
  • Empty tissue boxes (optional)


    Here’s the craft we’ll be making.  Holiday Coasters!

Why would you need to make paper coasters, you ask?


  • Thy make a sturdier coaster than a napkin does.
  • They dress up plain placemats.
  • They make a fun gift.
  • They’re an inexpensive way to protect your furniture when you need a lot of coasters for holiday parties.
  • They recycle items you would normally trash
  • They’re an easy craft for the kids on wintery school’s out days.
  • They’re just plain fun!


Here’ the instructions:

  • From your card stash choose images that make a complete picture. Looking at the coasters pictured above, you can see how the snowman, the stockings, and the kitten make a more complete picture than the ornament coaster. While the ornament is okay, it doesn’t show as well. If you aren’t using a glass that you can see through, make an open template the size you want your coaster to be. Place it over the greeting card, positioning it until you have the desired scene.
  • Trace the shape of the coaster onto the greeting card. For my square coasters, I traced the rounded edges, but you could trace and cut the coaster into a square and round the edges using a scrapbooking tool that cuts curves on square edges.
  • Cut out the coaster.
  • If your greeting card is fairly thick, this is all you have to do. In a few minutes you have a durable coaster that will last for several uses.
  • However, if your greeting card is thin or you want a sturdier coaster, cut another coaster shape from one side of the empty tissue box. Trim as necessary to match your greeting card coaster. If you place the decorative side of the tissue box face up, you can flip your coaster over and use it all year long!
  • Apply a thin coat of rubber cement to the two pieces, following the cement instructions.
  • Adhere the pieces together.


Do you have a stash of greeting cards? Have you ever made crafts with them? If so, I'd love to know your favorite  things to do with old cards.

Wednesday, January 21, 2015

Sticky Notepad Covers from Greeting Cards


I imagine most of us have this year’s, or maybe last year’s, Christmas cards laying around gathering dust. If so, why not start making some cute stocking stuffer items for next Christmas. With a few Christmas cards, card stock, a bit of ribbon, and a 2x2 sticky notepad you can create this cutie.


Here’s the instructions:


Supplies-a Christmas card that is at least 8 inches wide or long, 13 inches of ribbon, 1 3x3 inch sticky notepad, adhesive glue, scissors.


·         Out of a Christmas card, or a piece of colored cardboard stock,
 
 
cut a 3inch wide by 8 inch long section.


·         Placing your 3x3sticky notepad 3 inches from the bottom of the card strip, fold the strip around the edges of the notepad.

·         Cut 2 small slits, the width of your ribbon, in the back of the holder, about ½ inch from the edges of the card stock. You could also use sticky Velcro buttons to close the holder.

·         Thread the ribbon through the slits.

·         Adhere the back of the sticky notes to the center of the folded card stock … or not. It’s your choice on this.

·         Close the cover and tie the ribbon.


If you don’t have a Christmas card with a design that spans the 8 inch length, you can make the basic note holder from card stock, cut out the desired design from the Christmas card and glue it to the front of the holder. The top flap can be adjusted in length to show your cutout design to its best.


This craft can also be uses as swag for your books by adhering a photocopy of your book cover to the front flap of the holder. If you do this, I’d suggest making the top flap the entire length of the notepad instead of the bottom flap. Add your website address or any other marketing info you want to the inside of the flap.


This craft is quick and easy, and once you start making this little beauties, you’ll have trouble stopping. I know I have.

Wednesday, September 4, 2013

Recycled Crafts--Greeting Card Placemats


I don’t know about you, but I love greeting cards, and I save everyone I get, not for sentimental purposes, but for crafting.

One of the simplest uses of greeting cards is making placemats. I can’t take credit for creating this craft. I saw it over 30 years ago on a PBS station. Advertised as a quick easy craft that you could do with children, I decided that it would make a great gift for my then-young daughter to make as Christmas gifts for her grandparents. We enjoyed the craft so much we made placemats for our family, too.


Here’s what you need:


            SUPPLIES:

·       Heavy, colored cardboard stock.

·       An assortment of used Christmas greeting cards.

·       A circle template (we used the open end of a clear drinking glass), but you could use a plastic quilt template, too, or a different shape. The main thing is to be able to see through the template so you know what the cut-out shape will look like.

·       Glue.

·       Clear, heavy plastic or vinyl that has adhesive on one side.

·       Sharp scissors (for parental use), or scissors that your child can use if you decide to let them cut out the shapes.

·       Pen or pencil.


INSTRUCTIONS:

1.     Cut the cardboard to a desired shape. Oval or rectangles work well for placemats. You can use a cloth placement for sizing.

2.     Choose your greeting cards. You can theme them or make the choices eclectic. We chose to center each placemat with a theme and go eclectic around it.

3.     Place the glass or template over the section of the card you want to highlight, trace around the outside of the glass and cut out the shape you’ve traced.

4.     Arrange the shapes on your cardboard placement in whatever design you choose, then glue them to the cardboard. If you don’t have enough cards to fill the placemat, just space them out on the cardboard in a pleasing pattern. There are no hard and fast rules here.

5.     Cover the placemat on both sides in the plastic adhesive and trim the edges so it ithey are just a touch wider than the cardboard. Press the edges down to seal the paper inside the plastic and protect the placemat from spills.

6.     Enjoy your new creation!


This craft can be duplicated with any type of greeting cards: birthday, Mother’s Day, Father’s Day, Thanksgiving, Valentines. You can make a whole set, or just a single placemat to honor that special person on their special day. It’s simple, easy, and child friendly.