Showing posts with label yarn. Show all posts

Friday, February 8, 2019

Exploring Nettles for Fabric

Image result for nettles images
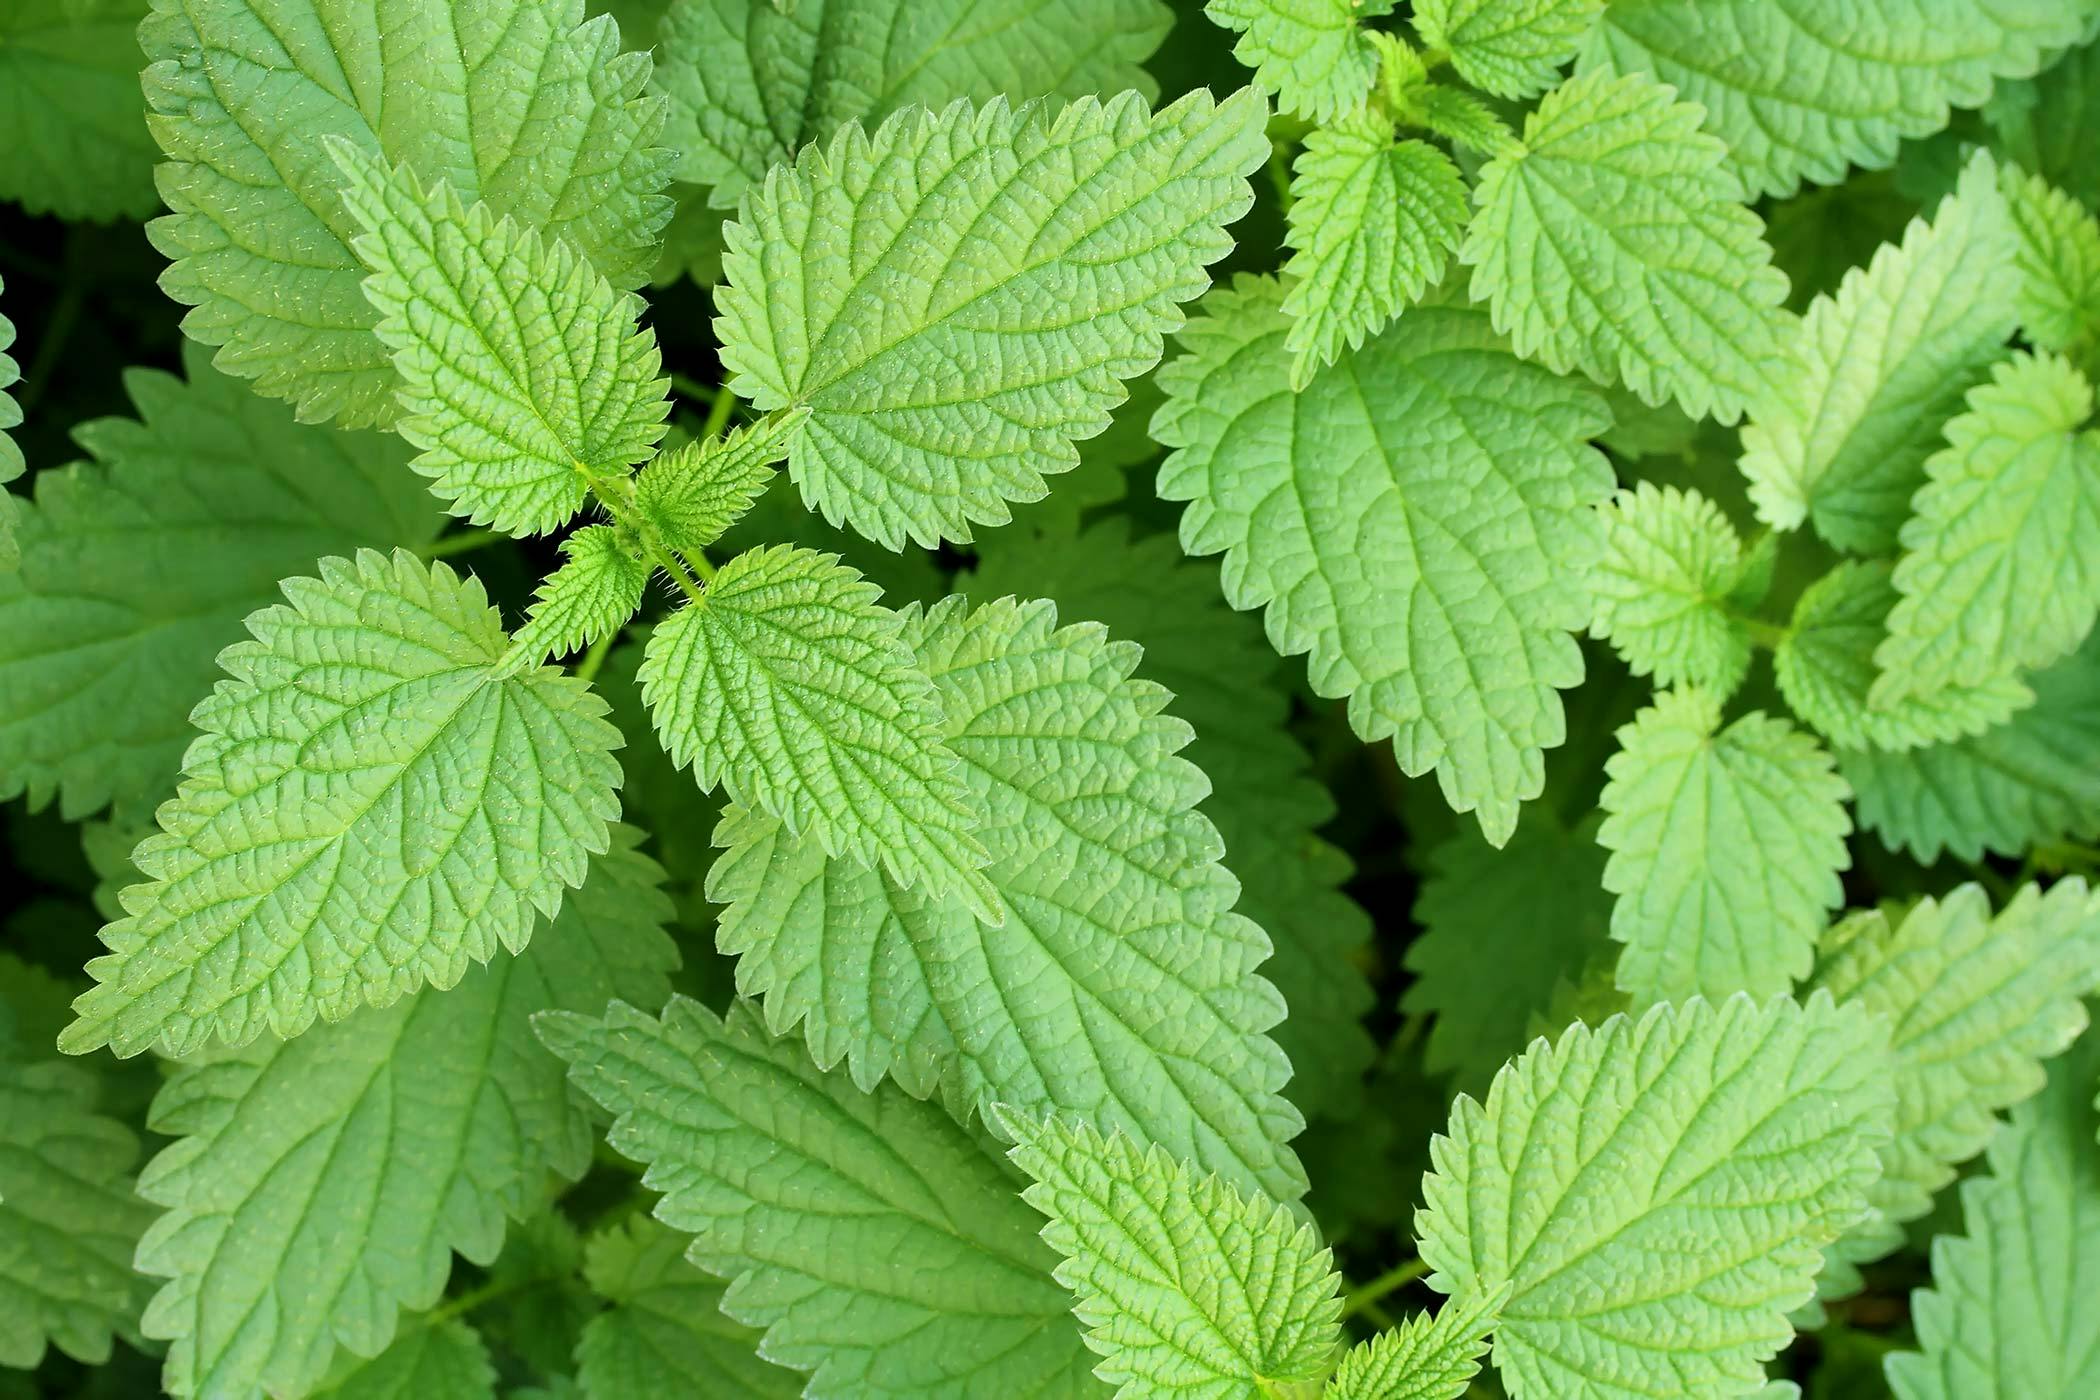
How many remember the burning itch of nettles from childhood? I admit that I had a particular talent for finding nettles ... with my hands. I spent a lot of my younger years with stinging fingers.

But the lowly nettle, it turns out, has many legitimate uses that our forefathers knew about. 

In a recent bout of research on Native Americans, I discovered that the Ojibwe women wore skirts made of woven nettle fabric. I immediately started to itch, of course. And then I dug a little deeper into the subject.

Nettles, like flax, hemp, and other plants, produce a long, fine, and very spinnable fiber. Who knew?! It's a process to get the fiber out of the stalks, but it's not difficult, only time-consuming.

The stalks are cut at the base when they are mature and still green. Leather gloves are a really good idea for this chore! The leaves are stripped off and the stalks are bundled into a manageable size.

Bundles of stalks are then submerged into a trough of water, or if you're lucky enough, a pond or stream. The stalks are weighted to keep them below the surface, and left in the water for about a week. This starts the retting - or rotting - process.

The bundles are then opened and spread out on the ground to fully dry. Once dry, the stalks are split open and long fibers are peeled away from the woody pith. This is a very tedious step. People serious about making any amount of useable fiber will have some tools to help in the process, like a break, hackle, and scrutching swords, but we won't get that deep in the weeds here.

With some sort of carder or steel comb, the extracted fibers are smoothed and straightened for spinning into thread.
Image result for image of nettle fibers

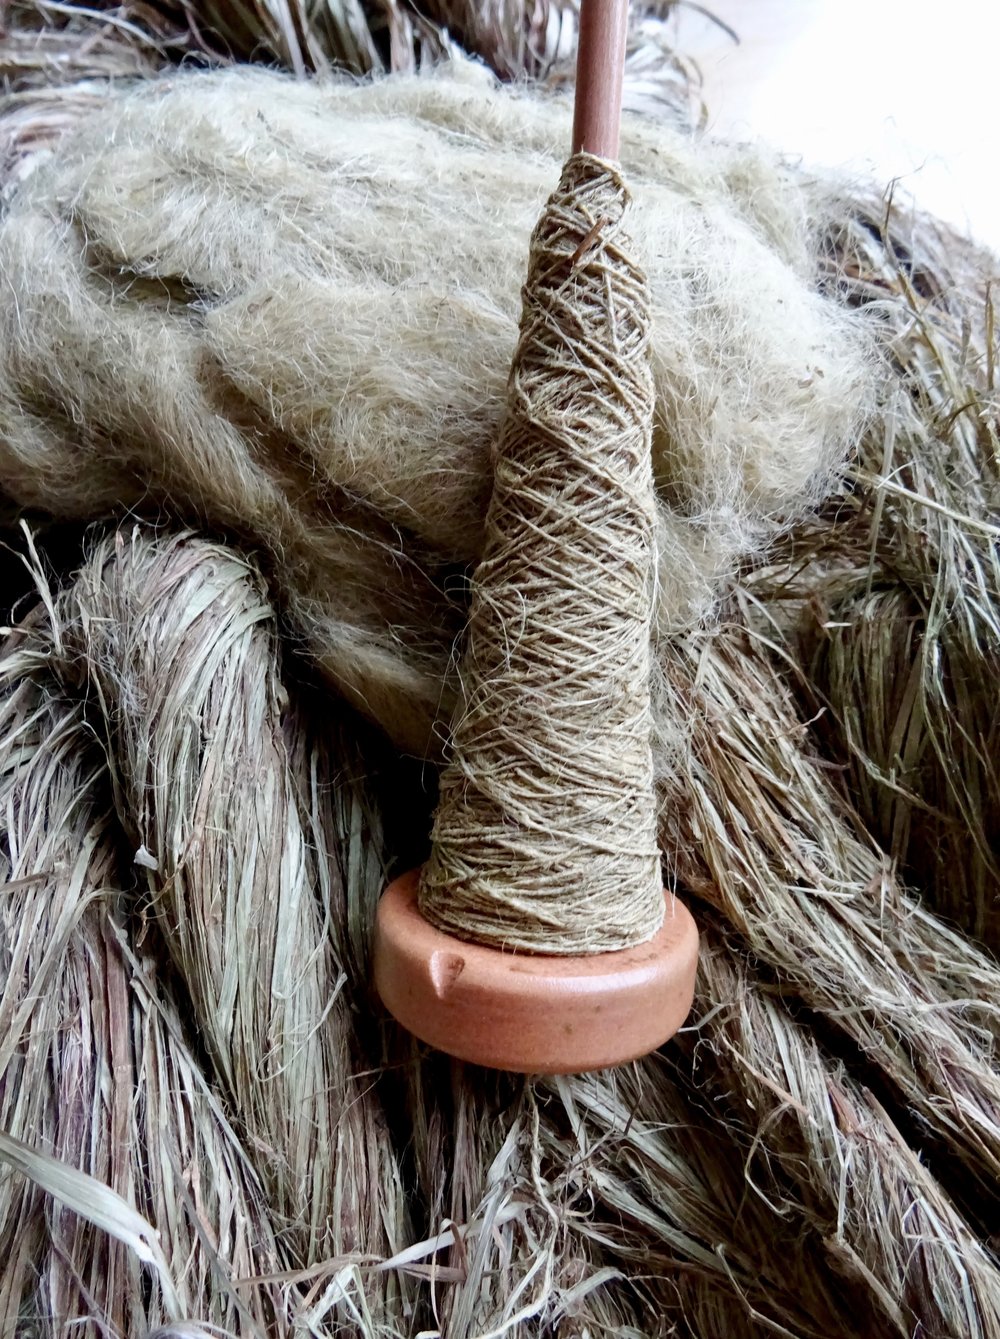
Once spun, the thread is usually boiled with a bit of soap to remove any of the sticky residues that remain. It can then be knitted, woven, or bound into cordage.

Not interested in all that work but curious about nettle yarns? Commercially available yarns containing nettle fibers are now available in the better yarn stores across the county. Pick up a skein and get in touch with some early American history.

More in this series:
Exploring Nettles for Dinner
Exploring Nettles for Color
Exploring Nettles for Health

Pegg Thomas is an author and editor, but also a fiber artist of some *mumble* years. She raises sheep and spins their wool to create one-of-a-kind shawls and other useful items. While she mostly uses a modern-day production spinning wheel, she occasionally spins on a 200-year-old Great Wheel, a true piece of American history.

Wednesday, May 7, 2014

Be Your Own Fashion Designer

After I’d been knitting a while, I decided I wanted to create my own sweater designs. I was young and foolish. Well, maybe not foolish, but brave. I had seen several stitches I thought would look good together, so I bought the yarn—a fisherman’s wool. Not cheap. But I was full of youthful confidence.

First I decided on a style-I wanted cables and I'd seen a seed stitch I liked so I thought I'd add that in. And the garter stitch. I had already chosen my yarn. One thing I would suggest is that your yarn match the stitches you choose. You don't want to mix a fine yarn like mohair or cashmere with an Aran pattern of cables like you find in Irish sweaters. Fine yarns are meant to be knitted simply so their beauty will show. An Aran pattern needs a yarn that has enough body to hold its shape.

The next step requires a pencil, paper, tape measure, and another person to help you measure. Measure and record your bust, arm, hip, and wrist measurements. 
  • To measure your arm length, start at the top inside and measure to your wrist.
  • Armhole depth--measure from the top of your shoulder to the soft part of your underarm and add 1 1/2 " for ease.
  • Length--measure from under your arm to your waist and then from your waist to the desired length. Record both measurements so that if you want a shaped waist you will know where to begin shaping.
  • measure you bust and add at least 2" for ease. On a bulky sweater you can add as much as 4".
  • Don't fudge on any measurements, especially the hip.
Another way to get the correct measurements is to take a garment you like and measure it. To do this lay it on a piece of paper and carefully trace an outline of the garment.

Actual Knitting:
Start by knitting a 4" swatch of the pattern in the needle size you will be using. Use a stitch gauge or ruler to count the number of stitches in two inches. Half this will be your stitches per inch. Do this for the rows as well.

How many to cast on:
Most sweaters are worked from the bottom up. I use my bust measurement, including ease, and divide it half. This will be my front. Multiply this number by the stitches per inch you've already determined, then I always add 4 stitches for seams. This is how many stitches you will cast on.

Example: 
Bust measurement: 38" + 2" for ease = 40"
Unless you are working in the round, divide this number in half for front and back = 20"
Let's say your stitch gauge is 5 stitches per inch.  20 X 5 = 100  + 4 = 104 stitches to cast on.

What if you choose a pattern like cables or diamonds?
That means you have to see if your stitch pattern will divide evenly into this number. Say your stitch pattern requires a multiple of 5 (5 stitches to complete the pattern). Five divides into 100 evenly with 4 left over for the seams.

Sleeves: 
After you reach the desired length, you are ready for the armholes. For Ragland sleeves, at each end every other row until one third of the stitches you started with remain. Continue in with these stitches until the desired armhole depth is reached. For Cap sleeves, decrease one stitch at each end of every row every other row 5 times. Continue to work the back in pattern until the desired shape is reached. Then bind off the neck edge or place the remaining stitches on a holder to finish later.


Here is one of the sweaters I designed.

This is enough to get you started on a vest. If anyone is interested in learning to be your own designer, leave a comment and next month, I will give directions on how to make sleeves.


 Patrica Bradley
Shadows of the Past